Tuesday, November 27, 2012
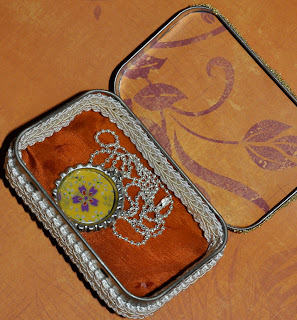
Altered Tins for Gift Giving
Thursday, November 22, 2012
Outline stickers and Sakura Crystal Lacquer and Terri Sproul Mixers
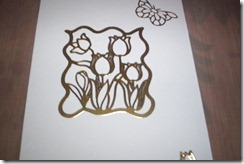
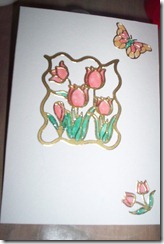
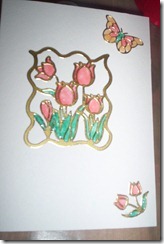
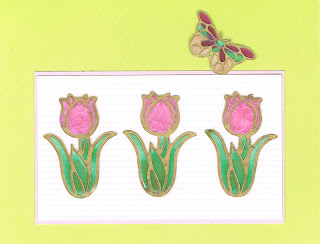
Awhile back the team members each received an envelope with outline stickers in it from our team leader, Terri Sproul. Now I wanted to make a card to send to a friend and was trying to get some things done before I had my back surgery so I choose some tulips and a butterfly to use on my card front. 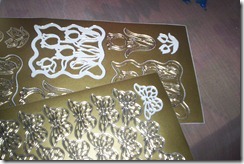 Aren’t these outline stickers just awesome? You can use them as a stencil rather than an outline. I placed the outlines on my card front and mixed up some TS mixers with Sakura and filled in between the lines on the outline. I thought it turned out beautifully don’t you? A beautiful card for a friend.
Don’t you love this card front? I know I do and would love to receive it as well as give it.
Barbara
Tuesday, November 20, 2012
Happy Thanksgiving!!!!
Monday, November 19, 2012
Card Using Mixers in a Mold
Thursday, November 15, 2012
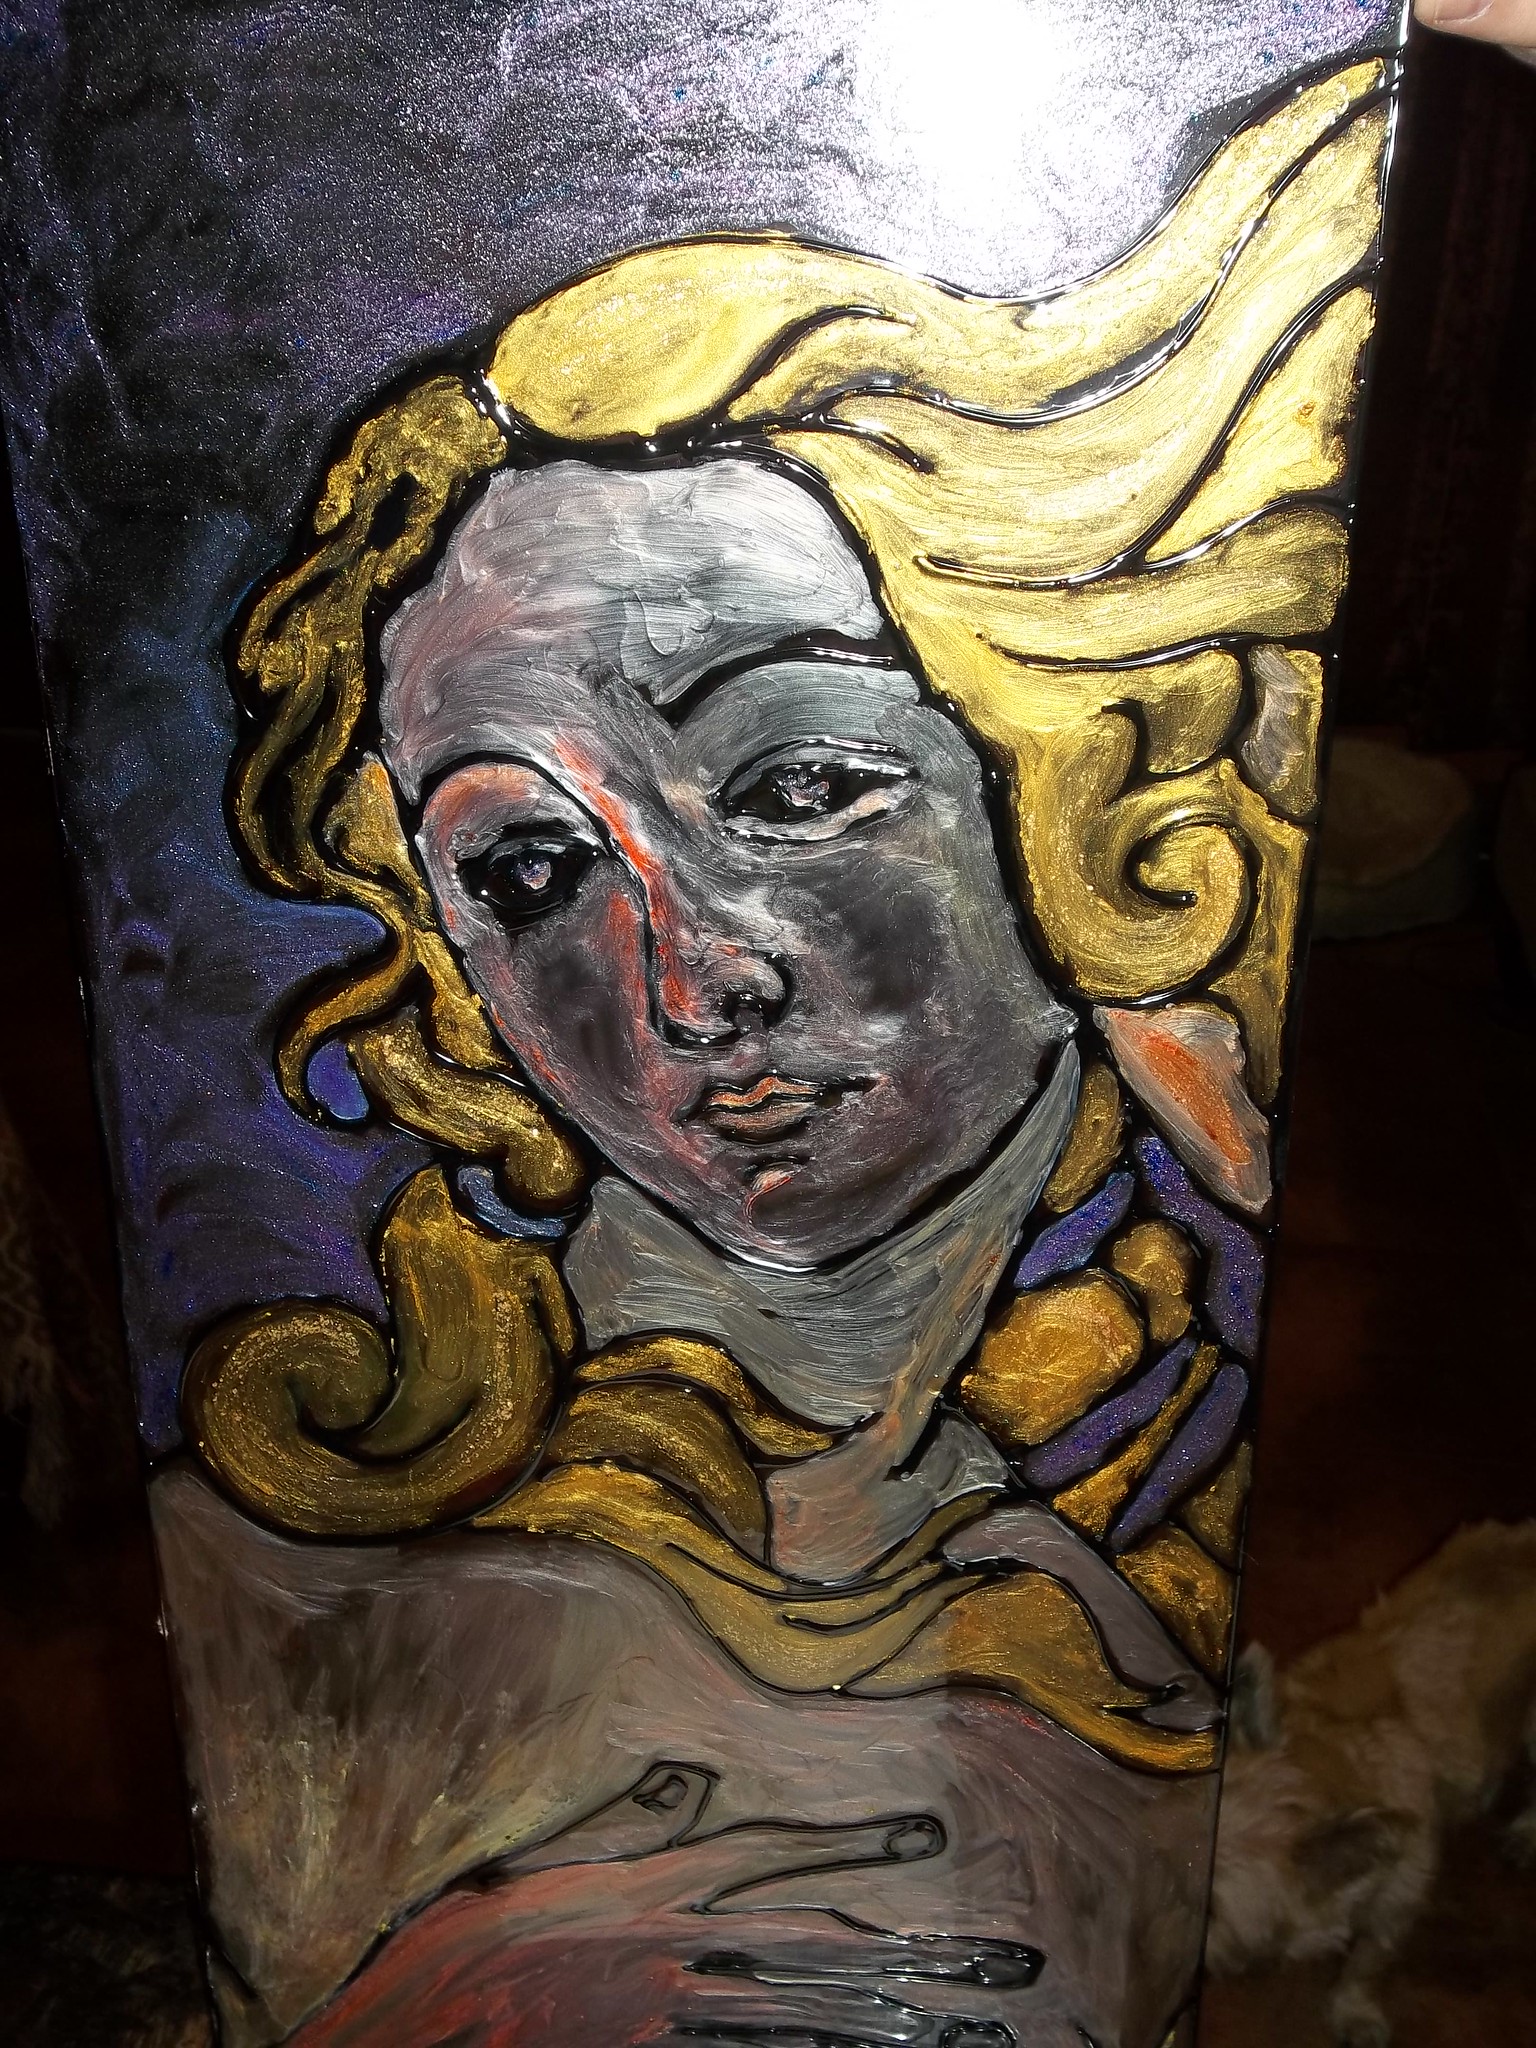
Faux Stained Glass with Sakura 3d Crystal Lacquer and Terri Sproul Mixers
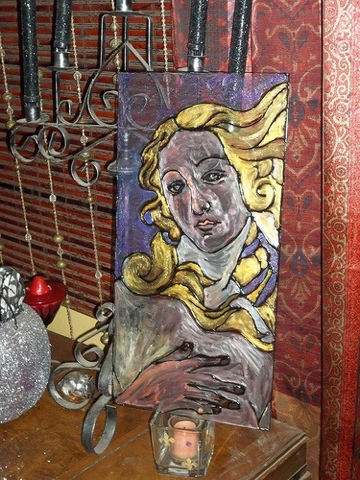
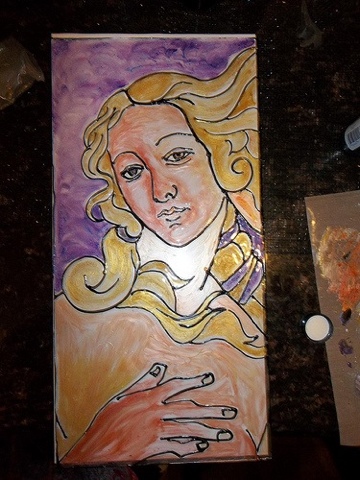
I love stained glass and Renaissance art and using Sakura 3d Crystal Lacquer and Terri Sproul mixers I can make my own.

Supplies:
Sakura 3d Crystal Lacquer
An assortment of Terri Sproul Mixers
Terri Sproul Color Enhance Effect
Black puff paint
Piece of clear glass
Paint brush
Image to paint, same size as glass
Start of with your piece of glass. I had a 20 X 10" piece of glass left over from a room divider I bought for 30 bucks since most of the glass was broken. What I did with the room divider is a whole 'nuther project.
Print out of your computer an image you want to transfer to glass. Since it is glass, you just put it under the glass and trace. Use the tile feature with your printer and you can print a image out as big as you want!
Make sure to clean the glass first. You don't want to paint over a smudge that can now never be cleaned.
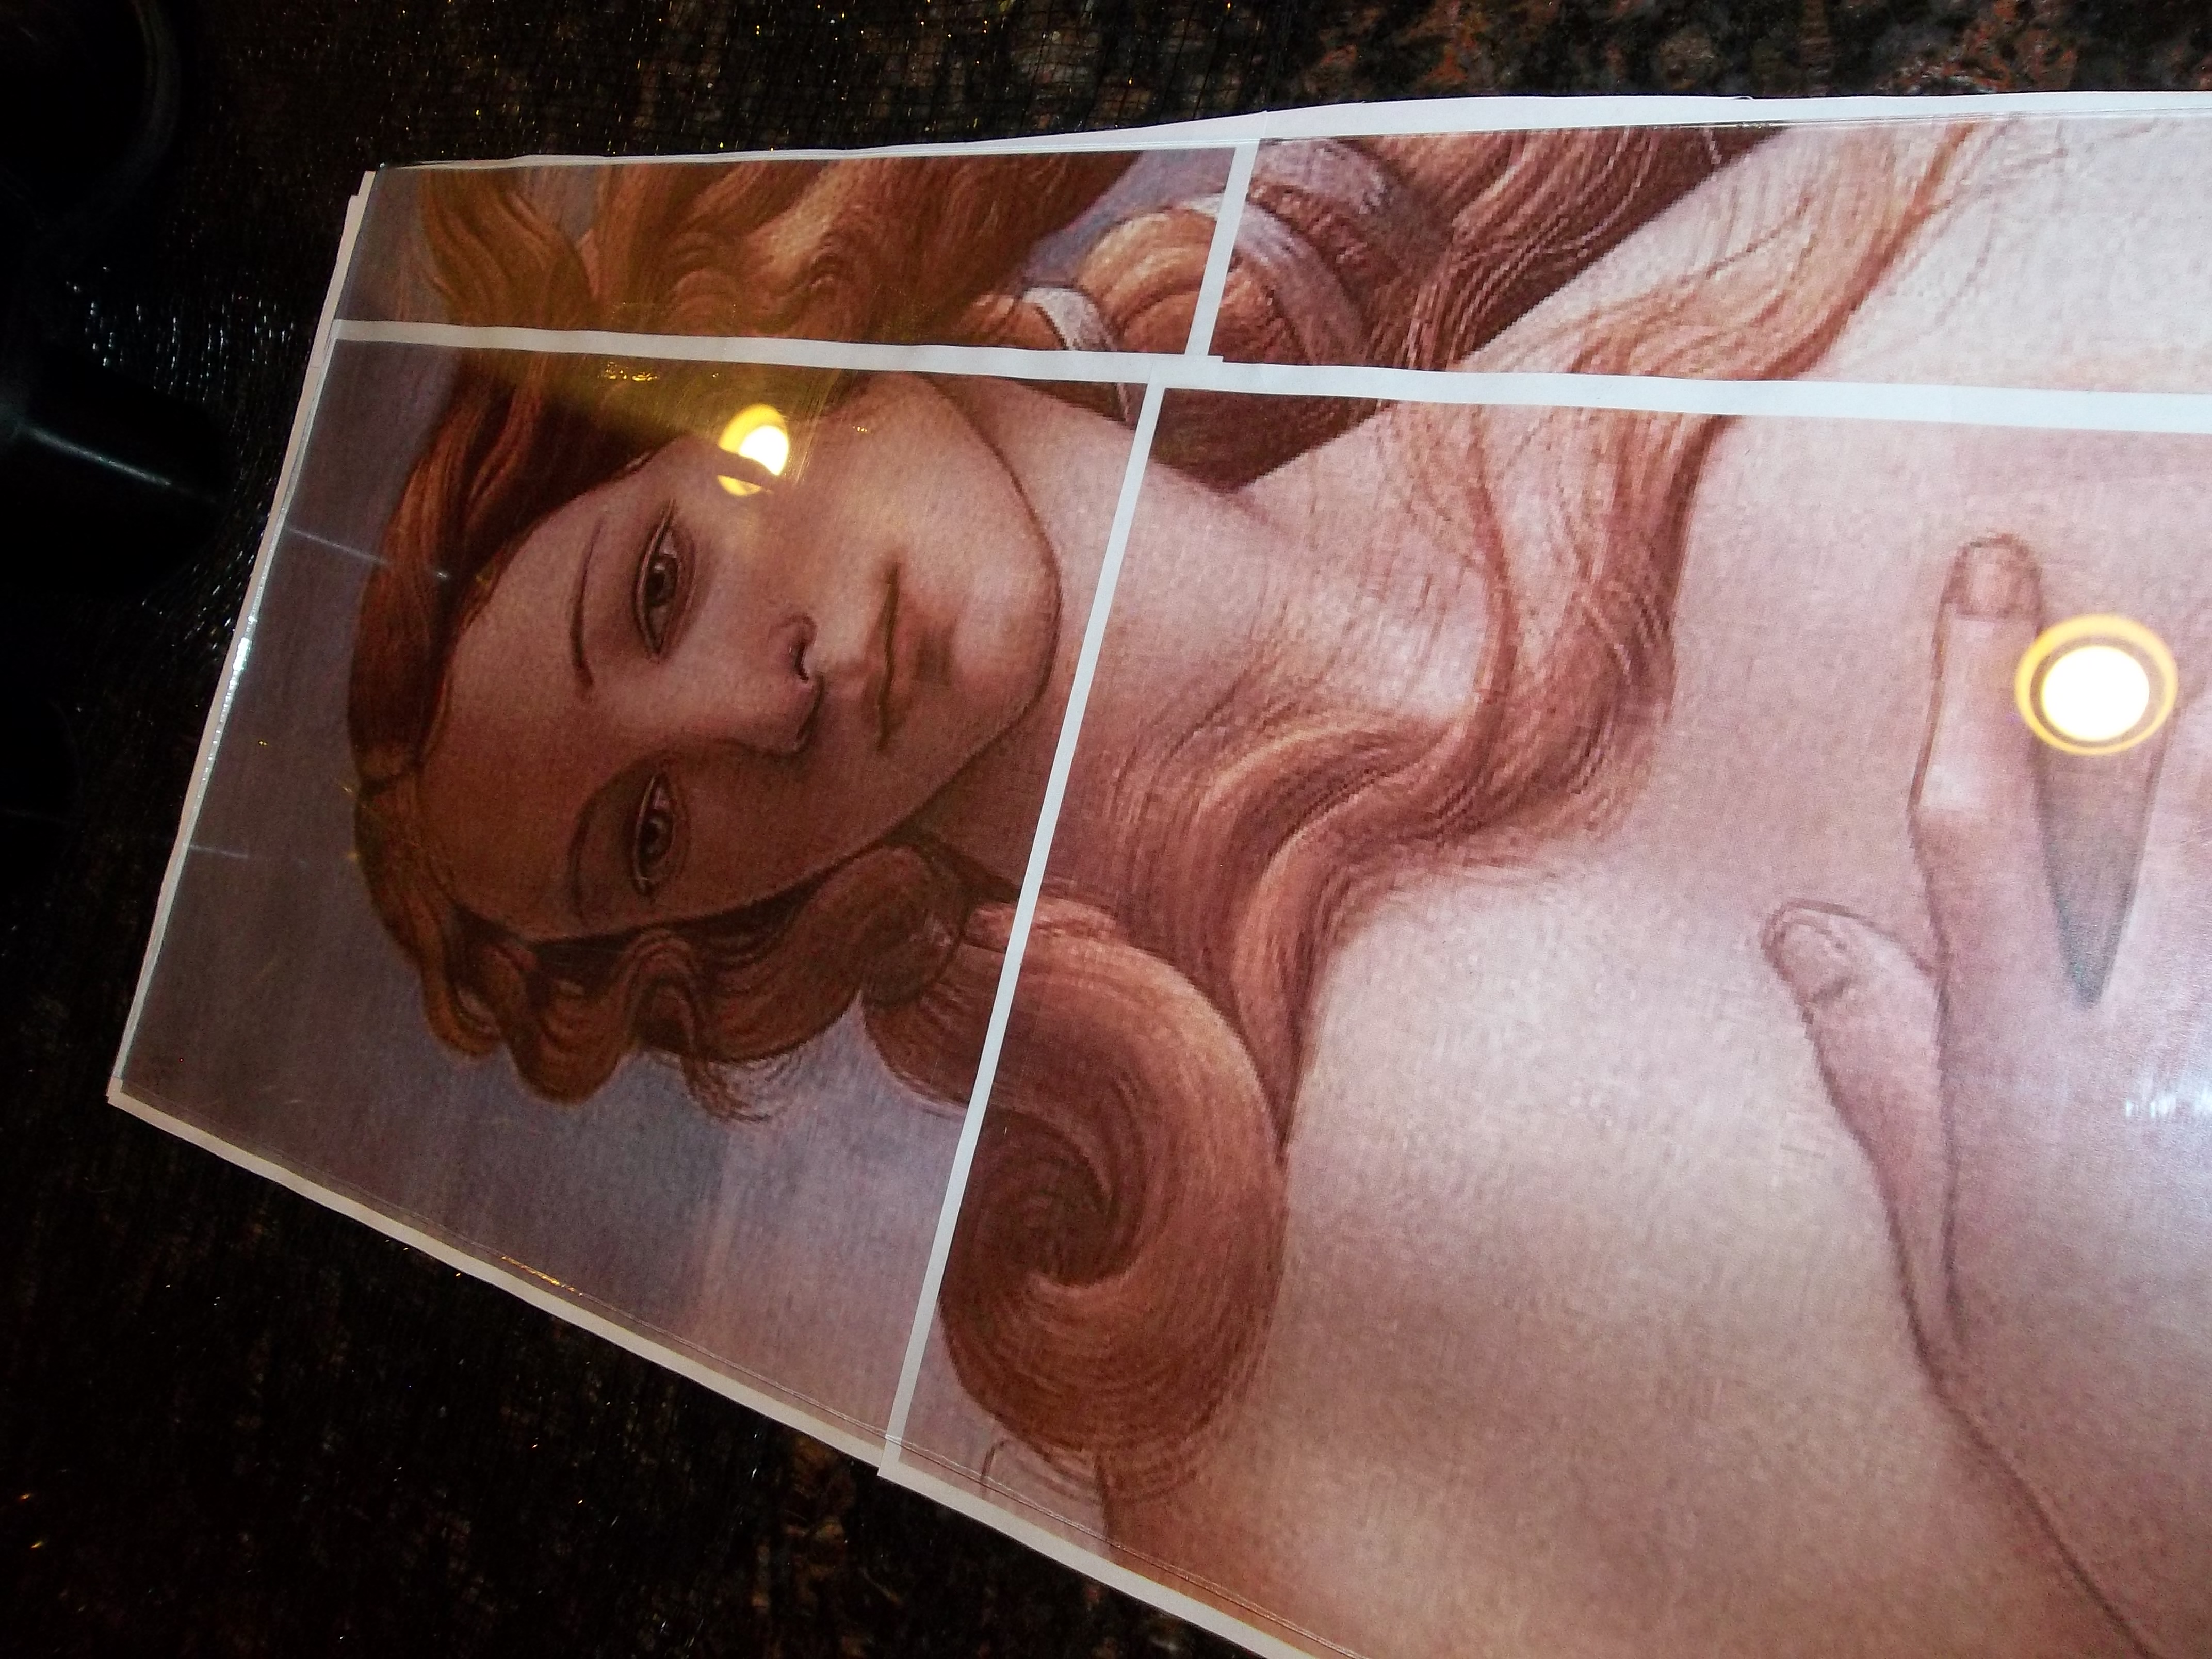
 Then grab your puff paint and outline the main design. You may even want to go over the image with a marker in the spot you want to outline before you begin to outline. I love the Birth of Venus painting and have used it numerous times in designs so I was comfortable tracing over it without any lines drawn on my image under the glass.
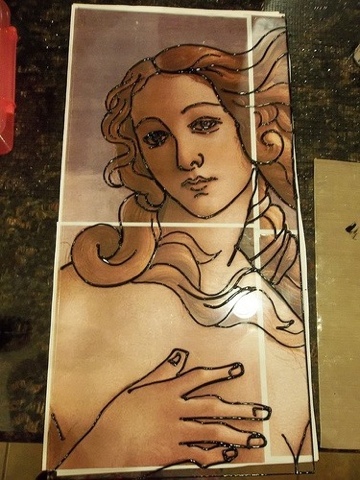
This is what it will look like. Don't paint yourself in a corner. Start at the top and work your way down. Be careful to not place your hand or arm in the wet paint. For example, don't do all the hair first and then go back to do to the face. You will never be able to balance your hand and draw a steady line without getting your arm in the paint. Believe me! I know!
The puff paint will serve as a wall to keep the paint inside a certain area. They even make faux leading for gallery glass but I find that is too thick and you get a cramp in your hand and thumb from squeezing the bottle. If you'd like a gray color just get gray puff paint. I like the black so that is what I use.

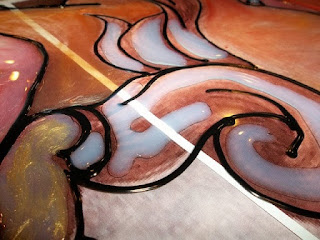 The next step is to start to paint. With the mixers you can either pre-mix the colors or squirt out some lacquer and mix the mixers in as you go. If you go that route make sure you mix the mixers in with the brush, if you don't you may end up with some spots that didn't mix well. If your lacquer dries before you notice, you can either leave it or peel up that area.
 In the image below, I noticed I hadn't blended the mixers well and went back while it was still wet.


For the skin tone I mixed some Citrine Pearl and Red Pearl together.
I used Garnet Red for lips and
Gold and Gold Dust for hair.
Violet was used with some Terri Sproul Color Enhance Effect for the ribbon, eyes and background. The Enhance Effects changes the color so that I can use the same mixer but it looks like another color (since I had no blue).
Tuesday, November 13, 2012
Fun with Sakura and Outline Stickers!
Please click on the images to get a closer look at how cool they look!!!
Thursday, November 8, 2012
A Cute Little Memo Board and Sakura Crystal Lacquer
I have a few wood pieces that I’ve never done anything with and thought now might be a good time to do so. As I said in my last post, I had back surgery which fused my L4 and L5 vertebrae together (or at least it will be when it heals). I’m very limited in what I can do right now. This though should let you know that you can make many things even though you might have limitations.
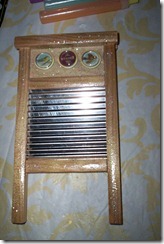
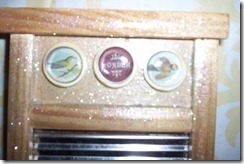
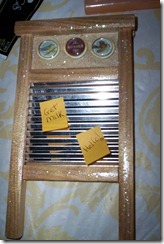
I started out with this: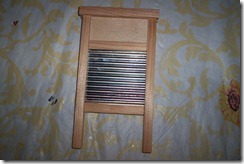 I used Crystal Lacquer to paint the washboard and then sprinkled glitter on it. Once the glitter was on and it dried, I glued some picture buttons on it. I think this could be so neat hanging somewhere----the laundry room, kitchen etc. so that anyone could leave a note……………………….
What do you think? I would love to know. I used some sticky notes as an example of a way to leave notes but you could also use magnets to hold paper onto the metal.
Barbara
Monday, November 5, 2012
Necklace Pendant
Thursday, November 1, 2012
Embellished Business Card Case
Crystals
 After you place the scrapbook paper down, you can begin to coat the entire surface with Sakura 3d Crystal Lacquer. Then sprinkle in some Terri Sproul Mixers- Ultra Fine Glitter. The iridescence of this can not be given justice by the photograph.


